

How to Add Meta Tags in WordPress (Step-by-Step Guide)
If you’ve ever wondered why your WordPress site isn’t showing up on Google’s first page, missing or wrong Meta Tags in WordPress could be part of the problem. I’ve seen this issue trip up a lot of beginners right here in India who build great websites but skip the SEO basics. At Code to Couture, I want to make sure that doesn’t happen to you. In this guide, I’ll walk you through exactly what meta tags are, why they matter, and how to set them up on your WordPress site—step by step.
What Are Meta Tags?
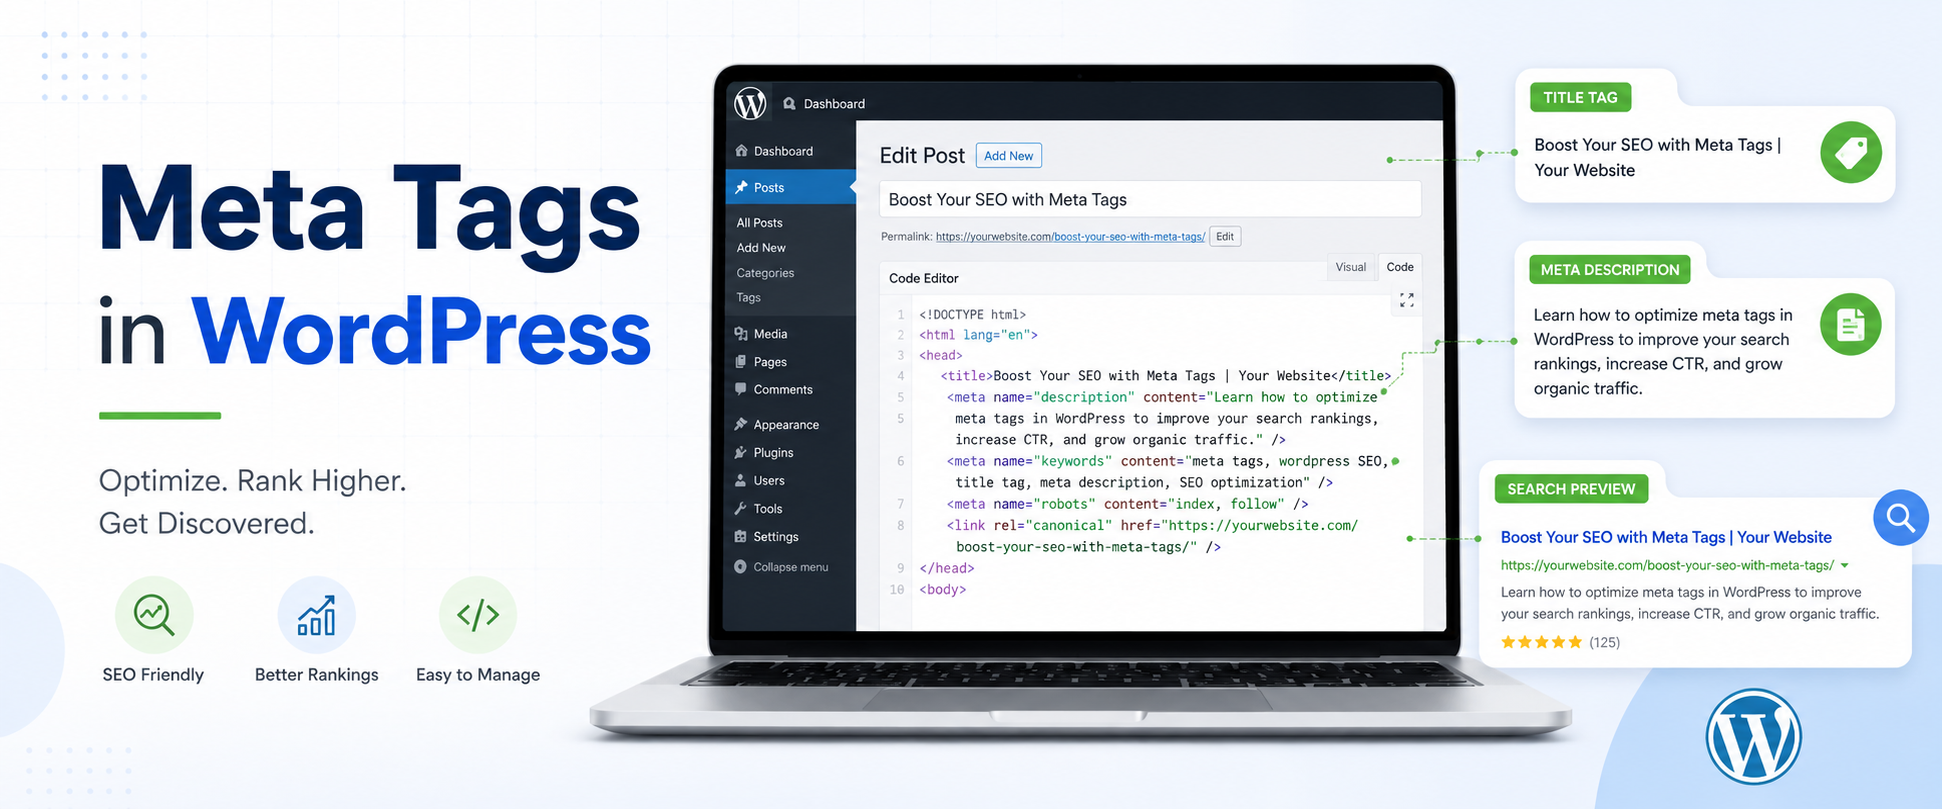
Meta tags are small pieces of HTML code that sit inside the <head> section of your web page. They don’t show up on the page itself, but browsers and search engines read them carefully. Think of them as labels on a product box—they tell the outside world what’s inside. Common examples include the title tag, which sets your page’s name in search results, and the meta description, which is the short summary you see below a search result. Getting these right is one of the first things I do whenever I build a new WordPress site.
“Meta tags are invisible instructions in your webpage’s code that tell search engines and browsers what your page is about.”

Why Meta Tags Matter for Your WordPress Site
-
Higher visibility: search engines use your title tag to rank and display your page.
-
Better click rates: a well-written meta description encourages people to click your link.
-
Correct mobile display: the viewport tag makes your site look great on phones.
-
Smarter social sharing: Open Graph tags control how your link looks on WhatsApp or Facebook.
-
Crawl control: the robots tag lets you hide pages you don’t want Google to index.
-
Brand recognition: consistent title tags build trust and familiarity with your audience.
Types of Meta Tags You Should Know
Here is a quick overview of the most common meta tags and what each one does:
|
Meta Tag Type |
What It Does |
Where It Appears |
|---|---|---|
|
Title Tag |
Sets the page title shown in browser tabs and search results |
Google search snippets, browser tabs |
|
Meta Description |
Gives a short summary of the page content |
Below the title in Google search results |
|
Robots Tag |
Tells search engines whether to index or follow a page |
Search engine crawlers only |
|
Viewport Tag |
Makes the page display properly on mobile screens |
Browser rendering engine |
|
Open Graph Tag |
Controls how your page looks when shared on social media |
Facebook, LinkedIn, WhatsApp previews |
How to Add Meta Tags in WordPress — Step-by-Step
There are a few different ways to add meta tags to your WordPress site. I’ve covered the three most practical methods below, starting with the easiest.

Option A: Using Yoast SEO Plugin
Yoast SEO is one of the most popular SEO plugins for WordPress. It automatically adds meta tags to the head section once you set it up.
-
Go to your WordPress dashboard and click Plugins > Add New.
-
Search for Yoast SEO, install it, and click Activate.
-
Open any post or page. Scroll down to find the Yoast SEO meta box below the editor.
-
Click the SEO tab inside the Yoast box.
-
Type your page title in the SEO Title field and your summary in the Meta Description box.
-
Click Update or Publish to save. Yoast will automatically inject your meta tags into the page’s <head> section.
To manage global settings, go to SEO > Search Appearance from the WordPress sidebar. This is where you set default meta tags for all your posts and pages in one go.
Option B: Using Rank Math Plugin
Rank Math is another solid option. Many WordPress users in India prefer it because of its clean interface and free feature set.
-
Go to Plugins > Add New and search for Rank Math SEO.
-
Install and activate the plugin, then run the Setup Wizard.
-
Open any post or page. Look for the Rank Math icon in the top-right corner of the editor and click it.
-
Click the Edit Snippet button inside the Rank Math panel.
-
Fill in your SEO Title and Meta Description fields in the preview popup.
-
Click Update to save. Rank Math will handle adding meta tags to head sections for every page you edit.
For site-wide settings, head to Rank Math > Titles & Meta in the dashboard. You can set default templates for different post types there.
Option C: Adding Meta Tags Manually (via functions.php or Insert Headers and Footers)
Important: Before making any manual changes to your WordPress files, please back up your site. A small error in the wrong file can break your whole website. When in doubt, use a plugin instead.
If you prefer to add meta tags without a plugin, you have two options:
Method 1 — Using a Plugin (Recommended for Beginners)
The easiest manual-style method is using a free plugin called Insert Headers and Footers.
-
Install and activate Insert Headers and Footers from the plugin directory.
-
Go to Settings > Insert Headers and Footers in your dashboard.
-
Paste your meta tag HTML into the Scripts in Header box.
-
Click Save. Your tags will now load in the page’s <head> on every page.
To generate the correct HTML code for your tags, use a meta tags generator tool online. You enter your page title, description, and keywords, and it produces the ready-to-paste code for you. This saves time and avoids typos.
Before you paste the description into your code, run it through a meta tags length checker. This tool tells you if your description is too short or too long for Google to display correctly. I always do this to avoid truncated snippets in search results.
Method 2 — Editing functions.php (Advanced Users Only)
-
Go to Appearance > Theme Editor and open your functions.php file.
-
Add your custom wp_head() hook code to output meta tags.
-
Click Update File to save.
Warning: Editing functions.php directly can break your site if there is a syntax error. Only do this if you are comfortable with PHP code. Use a child theme to keep your changes safe.
Best Practices for Meta Tags

-
Keep your title tag between 50–60 characters so it displays fully in search results without getting cut off.
-
Write your meta description between 150–160 characters. Use your main keyword naturally and give users a clear reason to click.
-
Every page on your site should have a unique title and description. Duplicating them across pages confuses search engines.
-
Try to place your target keyword near the start of your title tag. This can improve relevance signals for that search term.
-
Always include the viewport meta tag if your theme doesn’t add it automatically. This is what makes your site mobile-friendly.
-
Use Open Graph tags for any page you expect to be shared on social media. They prevent social platforms from pulling the wrong image or text.
-
Check your meta tags after any major site update. Migrations and theme changes can sometimes wipe your saved settings.
Key Takeaways
-
Meta tags are HTML snippets in your page’s head section that tell search engines and browsers what your page is about.
-
The most important meta tags for SEO are the title tag, meta description, and robots tag.
-
Yoast SEO and Rank Math are the easiest ways to add and manage meta tags in WordPress without touching code.
-
You can also add tags manually using the Insert Headers and Footers plugin or by editing functions.php.
-
A meta tags generator helps you create properly formatted tag code, and a meta tags length checker validates your description before publishing.
-
Follow character limits, keep each page unique, and always back up before making manual edits.
Conclusion
I hope this guide helped you understand how to set up meta tags on your WordPress site without feeling overwhelmed. Meta tags are one of those small things that make a big difference over time—especially if you want your site to rank better and attract more visitors from search. Whether you use Yoast SEO, Rank Math, or a manual method, what matters is that you get them right and keep them updated.
For more WordPress tips, tutorials, and beginner-friendly guides, head over to Code to Couture. I regularly publish content to help Indian website owners grow online—so bookmark it and come back whenever you need help.
Frequently Asked Questions
-
Q: What is the ideal meta description length?
A: Keep your meta description between 150 and 160 characters. Google may cut off anything longer in search results, which makes your snippet look incomplete. Use a meta tags length checker to confirm the length before you publish. -
Q: Can I add meta tags in WordPress without a plugin?
A: Yes, you can add them manually through the Insert Headers and Footers plugin or by editing your theme’s functions.php file. However, a plugin like Yoast SEO or Rank Math is much safer and easier for most users. -
Q: What is a meta tags generator and how do I use one?
A: A meta tags generator is an online tool where you enter your page details—like title, description, and keywords—and it produces the HTML code you need. You then copy that code and paste it into your page’s head section or into the Insert Headers and Footers plugin. -
Q: Does adding meta tags directly improve Google ranking?
A: Meta tags alone do not guarantee a higher ranking, but they do play a supporting role. A good title tag helps Google understand what your page is about, and a strong meta description can increase your click-through rate. More clicks can signal to Google that your page is relevant, which may help over time. -
Q: What does a meta tags length checker do?
A: A meta tags length checker measures the character count of your title and description tags. It tells you if your tags are too short, too long, or just right for Google’s display limits. Using one before publishing helps you avoid truncated snippets in search results.

